How to edit the same repeated items in DAX all at once.
Did you ever have a large DAX calculation that had something (a column, another measure, etc) mentioned many times and when you had to change that item you had to select each one, one-at-a-time, and edit each one, one-at-a-time, and you thought “there’s gotta be a better way…?!”
Good news! There IS a better way!
Let’s learn. If you’d like to use the same Power BI file that I do in the below video and written instructions, you can download it here (or click the graphic below).

Video:
Written Instructions:
We’re starting with a very simple pre-built Power BI file here, with just a few columns and a table made. It’s actually the Power BI file that we end up with at the end of the Nested IF function tutorial.
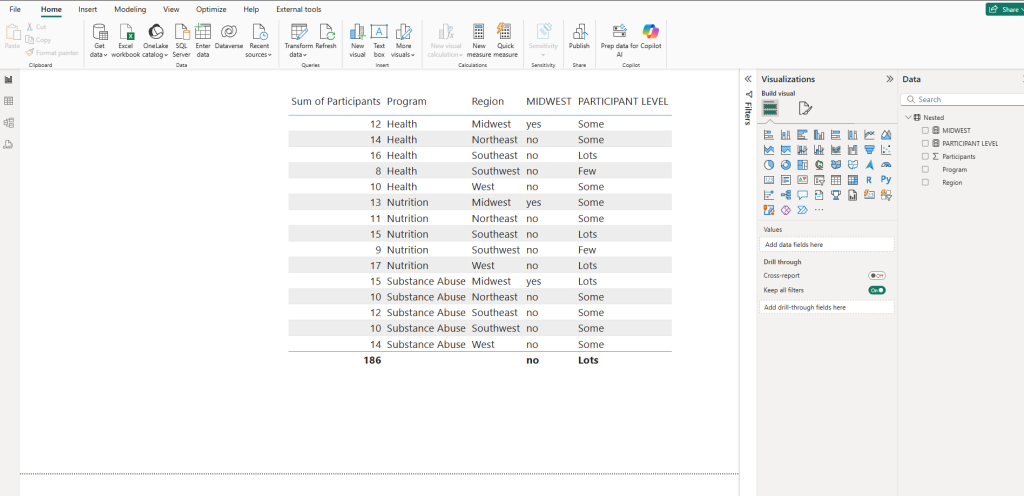
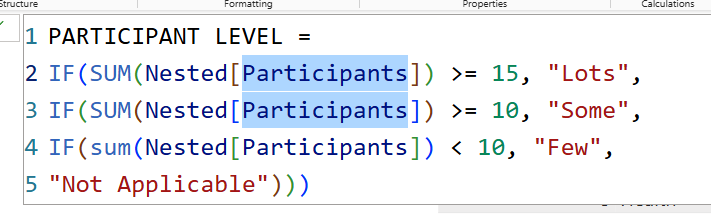
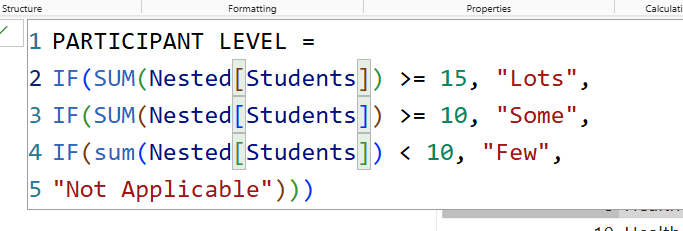
Let’s click on the Participant Level measure over in the Data Pane, and it’ll load in our formula bar.
This is a measure we made with Nested IF functions to check for different circumstances.
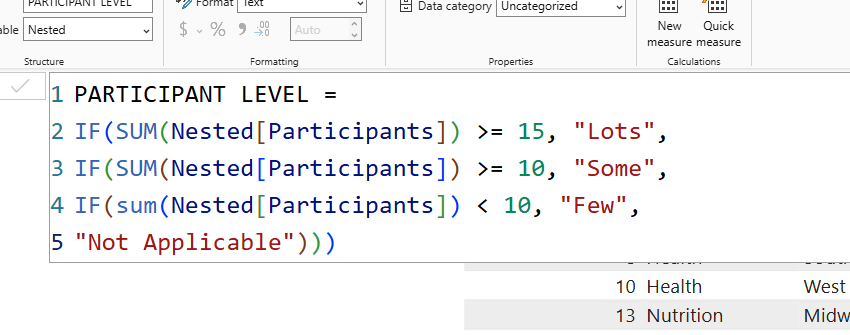
This is a fairly simple Nested IF function, just to give you an idea of how they work, but our “Hot and Fresh” tip today is about how to edit this DAX code efficiently.
Let’s suppose that you need to change this DAX to not reference the ‘Participants’ column but another column.
Perhaps we are working with a dataset that also has a ‘Students’ column (we don’t in ours right now, and that’s okay, as I’m just showing you a little selection trick) and we need to change every instance of Nested[Participants] to Nested[Students].
This could be a big pain in the butt if you’re working with a very large DAX statement where you have to change the same thing over and over and over (and I used to do this before I knew this trick).
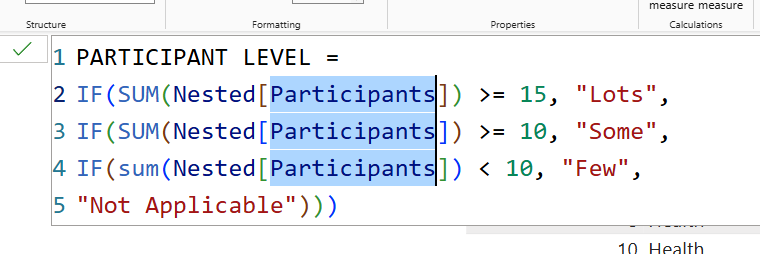
What we’re going to do INSTEAD is first select the part of the DAX we want to change, which is the word Participants:
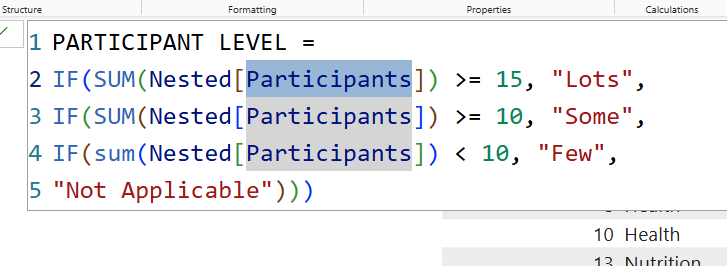
You can see that when you highlight part of your code, it’s smart enough to identify other places in your code where that same word or element is. It hasn’t selected the other places, but it’s recognized that they are there.
So, our Hot Tip here is a shortcut to get Power BI to select ALL the instances of a word for you automatically.
There’s two ways to do this.
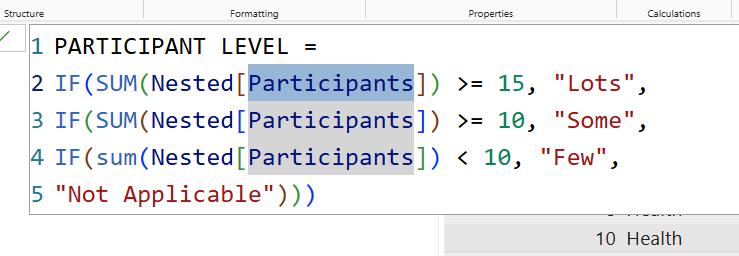
The first, once you’ve selected your word, is to press CTRL+D, and it’ll select the next instance of your selected word.
Now two Participants instances are selected. Press CTRL+D again and it’ll select the 3rd instance (and pressing CTRL+D again and again will select the 4th, 5th, 6th, etc instances.)
That’s the first way, but there’s another way to select them ALL at once, so let’s try that before we edit our DAX.
Select the first instance of Participants again:
Then press CTRL+SHIFT+L:
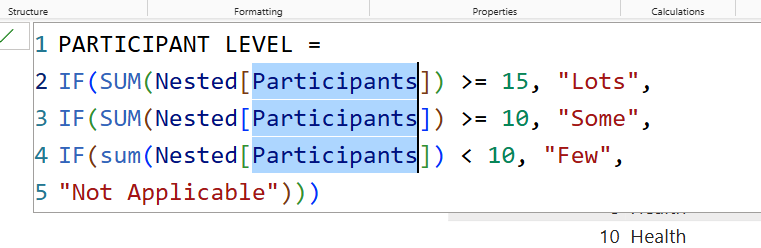
They are ALL selected for you instantly now.
Let’s try this out by making a quick and dirty Students column so we can adjust our DAX with this trick to make sure it works.
Right-click on any data column in the Data Pane and select New column, and then in the formula bar we’re just going to create a Students column that mimics our Participants data (you probably wouldn’t do this in “real life”… we’re just creating a quick and dirty numerical field here to test our trick).
The DAX we’ll use is this, to pull our Participants numbers to this new Students column.
Students = SUM(Nested[Participants])Now let’s try our selection tip. Go to the Participant Level measure again and select that first instance of Participants and the press CTRL+SHIFT+L to select all the instances.
Now we can simply replace all the instances with Students by changing the first one, and the rest will change automatically.
Easy-peasy, right?
So there’s your Hot Tip for today. It requires remembering a couple of shortcuts, but once you know them and use them, they’ll save you a bunch of time!
Take care everyone,
Joe.
Need more DAX posts? I got you.
More Hot and Fresh Tips!
Like these posts but need more formal (but still engaging and fun) training in Power BI? Contact me, Joe Travers or at joe@traversdata.com. I got you.
