How to get started with Bookmarks in Power BI
Today we’re going to start learning all about Bookmarks in Power BI.
Bookmarks can be used to do a lot of different things, but today we’re just going to learn the basics and future posts will explore different features and uses of them.
A Power BI Bookmark can be thought of like a regular bookmark in a book you are reading. It saves your “place” in a report, or what specifically you have visible on a report page, so you can access it easily later on.
We’re going to use a very simple dataset to demonstrate the basic functionality of bookmarks, and if you’d like a copy of the Power BI file I use in the below video and written instructions, you can download it here:

Video Post:
Written Post:
We’re going to learn the basics of bookmarks with a simple report and dataset.
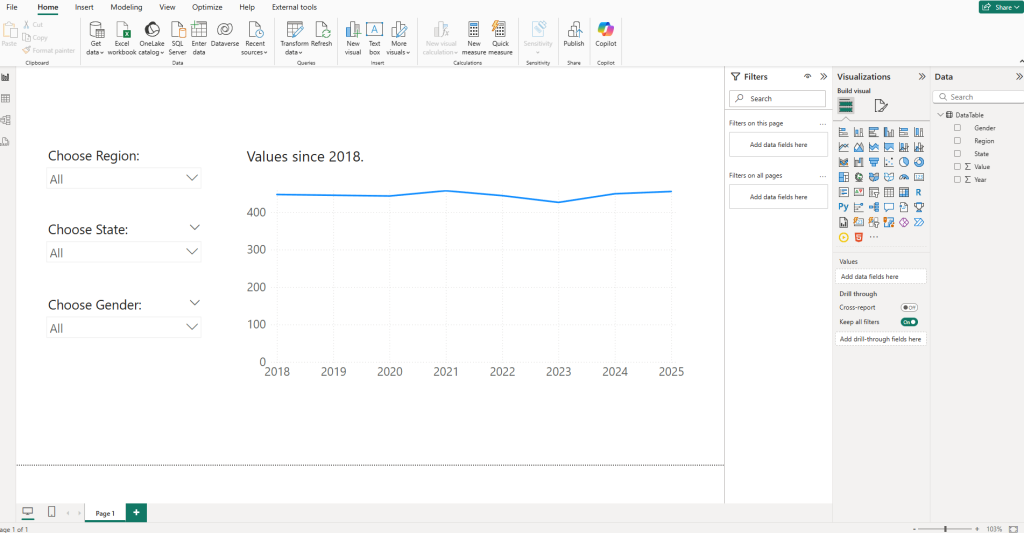
Bookmarks save your “place” in a report, or what specifically you have visible on a report page, so you can access it easily later on.
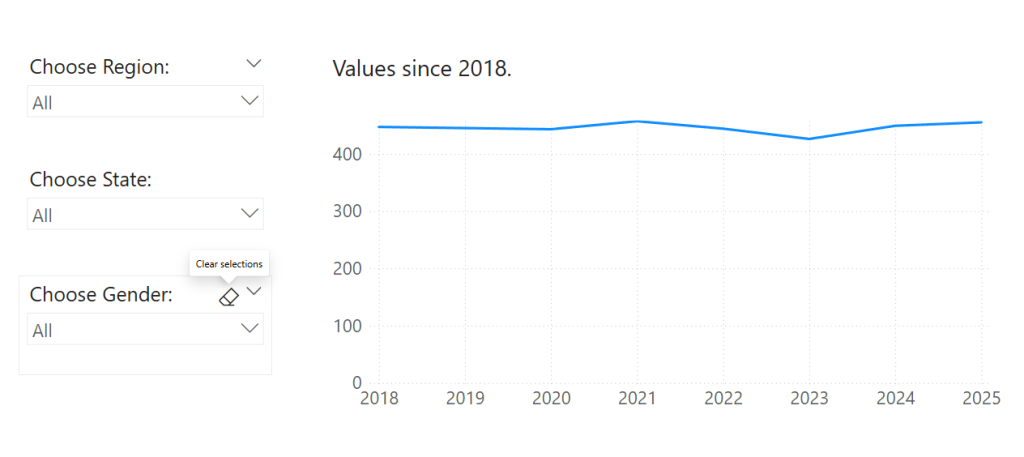
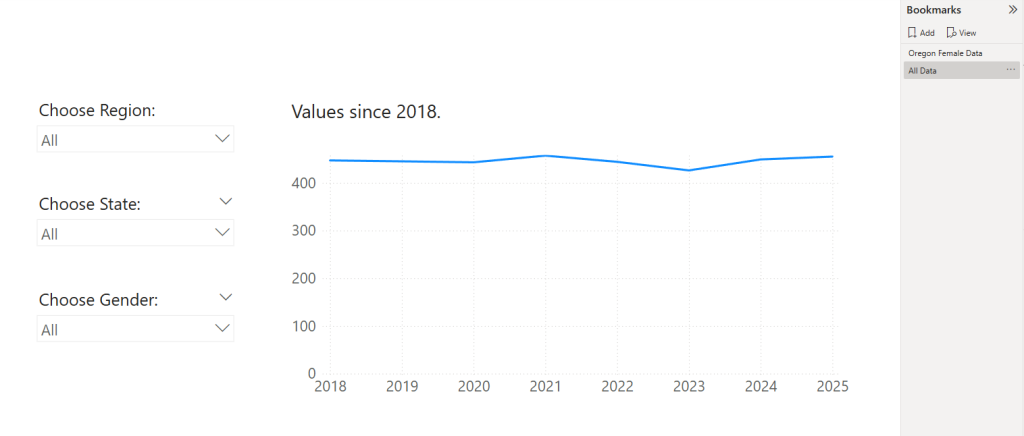
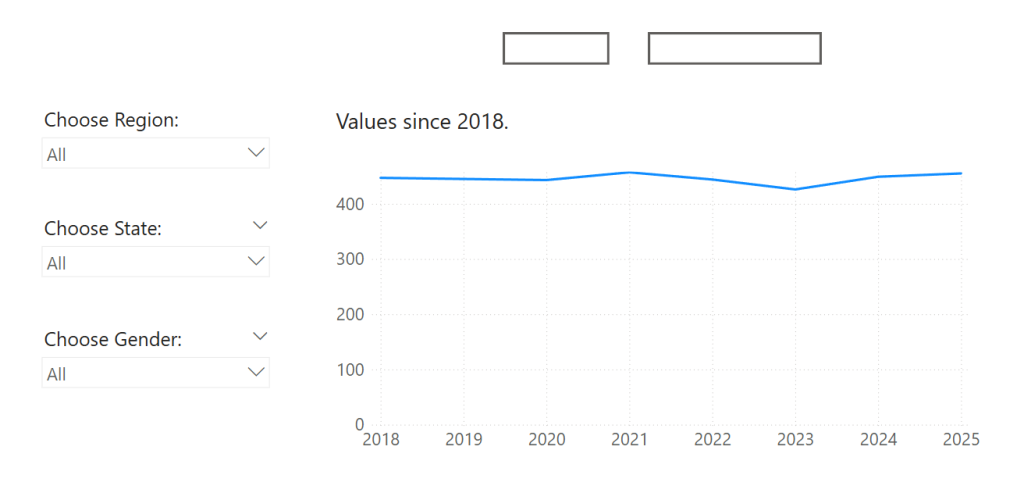
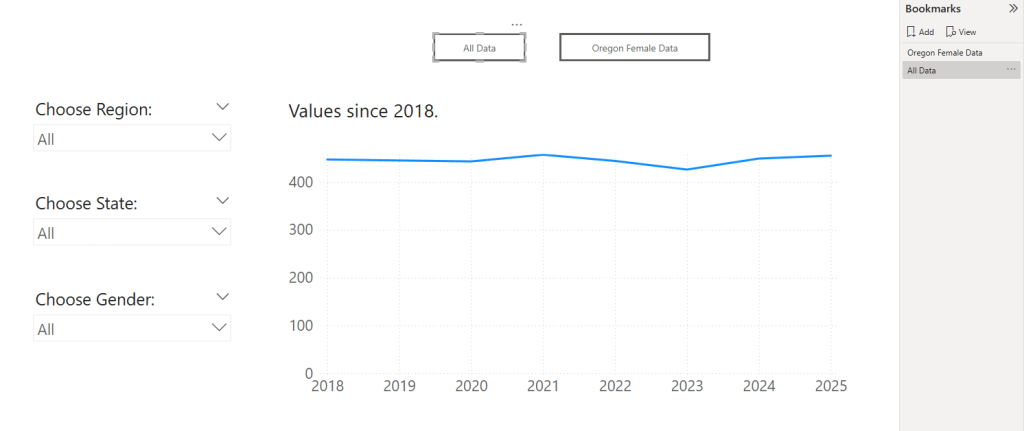
Our report is currently showing data from all regions, states, and genders in our data.
For demonstrating how bookmarks work, let’s suppose that your organization is trying to meet a certain number in Oregon among female residents, and a lot of your colleagues find it tiresome to user the slicers on your report page again and again and again, whenever they load the report.
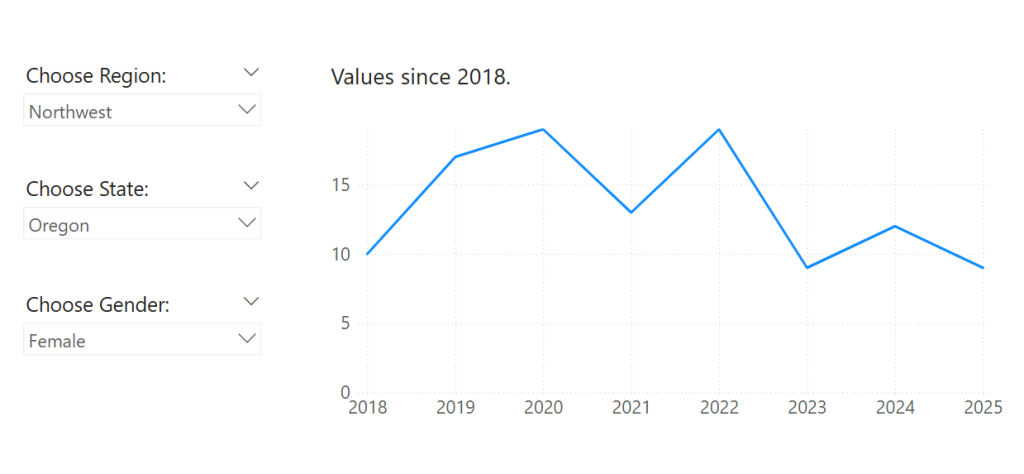
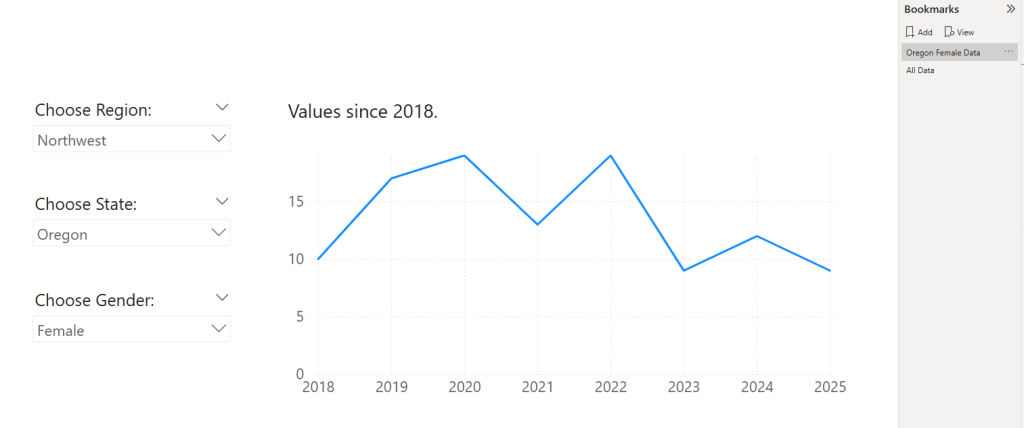
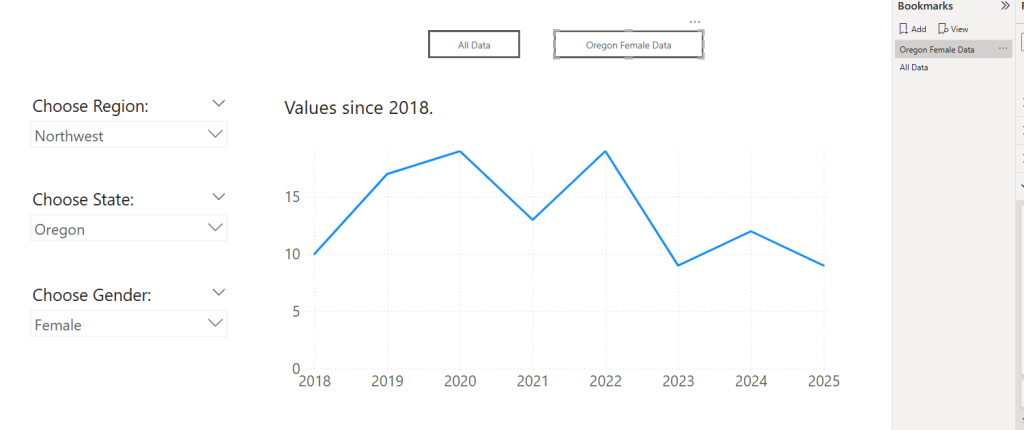
What we can do with bookmarks is save a view of this page that shows the data for female residents in Oregon.
First, we’ll slice our data in our slicers to select the Northwest region, the state of Oregon, and female in the Gender slicer.
Now we want to save a bookmark of this view. To do this we’ll go up to our View tab at the top of Power BI, click it to access the View ribbon, and then click the button near the right of the ribbon that says Bookmarks.
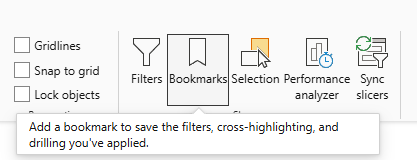
This adds a new Bookmarks Pane on the right side of Power BI for you.
We’re going to click the Add button at the top of it to create a bookmark that saves what is currently visible on our page.
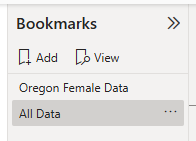
Clicking Add adds a bookmark called Bookmark 1.
We can rename our bookmark to something that tells us what the bookmark is saving. Double-click on it and give it a descriptive name.
Now let’s create another bookmark that saves a view of our page with no slicers applied.
First clear all 3 slicers:
Then add a new bookmark.
We can rename this one too:
Now that you have these 2 bookmarks set up, when you click each one in the Bookmarks Pane, your Power BI page changes to whatever view was visible when you made the bookmark:
Pretty cool right?
Now, while we can click on the different bookmarks in our Bookmarks Pane, once we share our reports with others (who probably won’t be using Power BI Desktop to view them), they won’t have access to the Bookmarks pane.
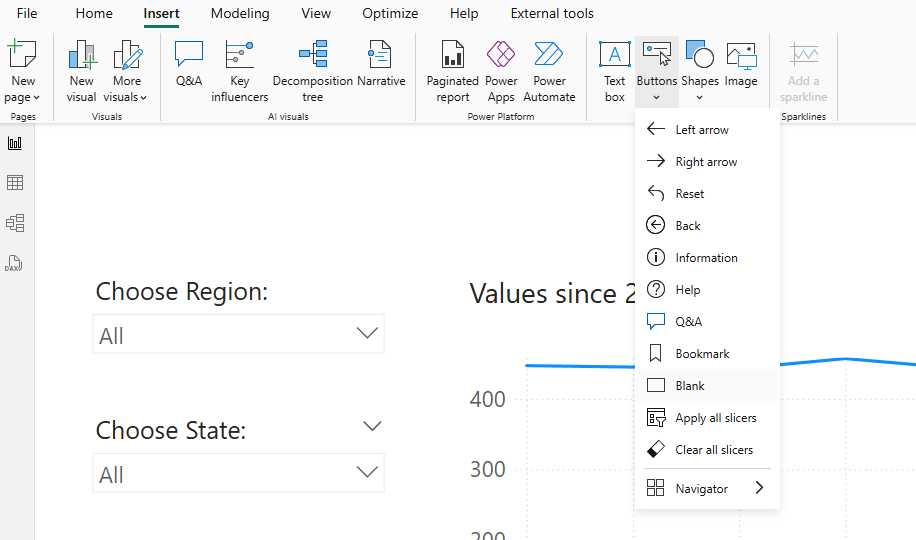
To allow report users to access the different bookmark views, we’ll create a couple buttons for our users to press and link them with our bookmarks.
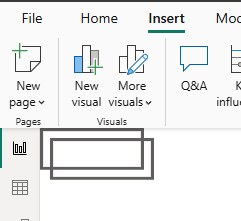
Go up to the Insert tab, click Buttons, and then select Blank to get a blank button we can customize.
You’ll get a button in the upper-left corner of your page. Move that button by clicking and dragging it with your mouse and then click on it to select it, hold CTRL+C and then CTRL+V to make a copy of your button.
Then move both of them where you want them. We’ll put these two at the top of our report for this tutorial. We can resize them a bit by clicking and dragging one of the edges.
Now we can put some text in these buttons and link them to our bookmarks.
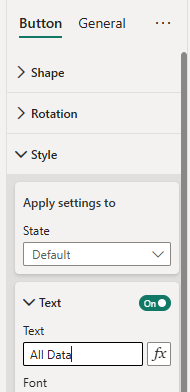
Let’s select one of them, and when a button is selected, you’ll get a Format Button pane showing up on the right side of Power BI.

We’ll open up the Style section of the formatting and turn on the Text option. Then we’ll add in some text saying All Data.
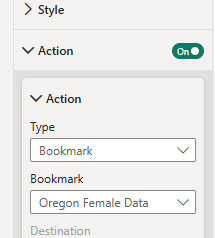
Then we’ll move down the Format button Pane and turn on the Action section. Then we’ll want to select Bookmark in the Type dropdown and then our All Data bookmark in the Bookmark dropdown.
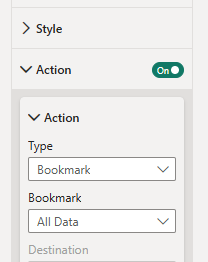
This has now linked our All Data button with our All Data bookmark.
We’ll do the same thing with the other button for our Oregon Female Data. First add some text that the button will show.

Then turn on the Action settings for this button, and link it with the Oregon Female Data bookmark.
Let’s test out our ‘actioned’ buttons now. Simply clicking on them will only select them, so we need to hold the CTRL key while clicking to interact with them like our audience would.
Clicking the Oregon Female button loads our Oregon Female Data bookmark:
Clicking the All Data button loads the All Data bookmark, essentially re-setting the page to all the data.
That’s it. The basics of bookmarks. We’re capturing different views of our report, and then letting our report users load those views.
Take care everyone,
Joe.
Like these posts but need more formal (but still engaging and fun) training in Power BI? Contact me, Joe Travers or at joe@traversdata.com. I got you.
